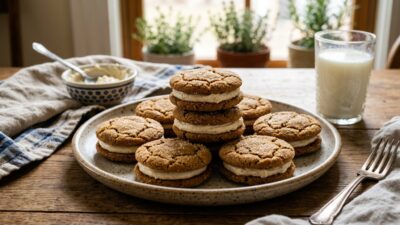
The first time I made Chocolate Cake Mix Cookies, it was almost an accident. I had a box of cake mix sitting in the pantry, friends arriving in half an hour, and no time to measure out flour, cocoa, and a dozen other things. So I grabbed the box, cracked a couple of eggs, and hoped for the best.
Twenty minutes later I pulled out a tray of soft, fudgy cookies with crackly tops and gooey chocolate centers. Everyone assumed I’d spent the afternoon baking. I didn’t correct them.
That’s the magic here. You get bakery-style chocolate cookies without the bakery-style effort. They’re rich, a little chewy in the middle, and the smell that fills your kitchen is pure warm chocolate. If you’ve ever stared at a cake mix box wondering what else it can do, this is your answer.
I’ve made these dozens of times now, on lazy weekends and stressful weeknights alike, and they’ve never once let me down. There’s something reassuring about a recipe that works every time, especially when you’re new to baking or short on patience. You don’t need a stand mixer, a candy thermometer, or any fancy technique. You need a bowl, a spoon, and about twenty minutes. That’s the kind of baking I can get behind.
What These Cookies Look Like
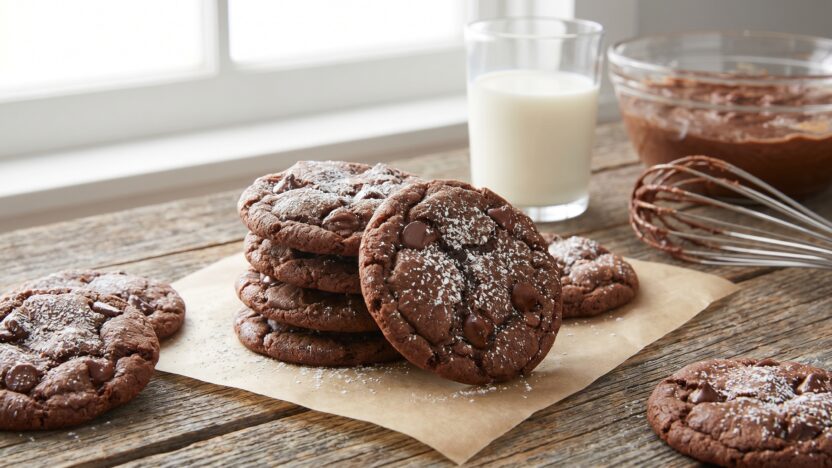
Imagine a small mountain of dark chocolate cookies stacked on a white ceramic plate, their tops cracked and slightly glossy where melted chocolate chips peek through. A few crumbs scatter across a soft linen napkin underneath. Warm afternoon light spills in from the left, catching the fudgy edges. Shot from a low three-quarter angle on a pale wooden table, cozy and inviting.
Key Takeaways
- You only need about 5 simple ingredients, and one of them is a boxed cake mix.
- Start to finish, these cookies are ready in roughly 20 minutes.
- The texture is soft and fudgy in the middle with lightly crisp edges.
- It’s about as beginner-proof as baking gets, so kids and first-timers can help.
- The dough takes well to swaps and add-ins, so you can make it your own.
Why You’ll Love This Recipe
Let me be honest about why this one earns a permanent spot in my recipe box. It’s fast. There’s no creaming butter and sugar, no waiting for anything to come to room temperature, and almost no cleanup. You stir everything in one bowl and you’re done.
It’s also forgiving. Cake mix is engineered to work, so even if your scoops aren’t perfectly even or you overmix a little, the cookies still turn out great. That makes it a lovely recipe to bake with little ones who want to help but aren’t exactly precise.
And the flavor punches way above the effort. You get deep chocolate, a soft fudgy crumb, and melty pockets of chocolate chips in every bite. It works for a random Tuesday treat, a last-minute potluck, a bake sale, or a holiday cookie tray. I’ve brought these to three different gatherings and nobody has ever guessed the shortcut.
Additionally, this recipe is budget-friendly. A box of cake mix costs a couple of dollars, and the rest are pantry staples most of us already have. For the price of a single fancy bakery cookie, you can make two dozen at home. That math has won me over more than once.
Ingredients
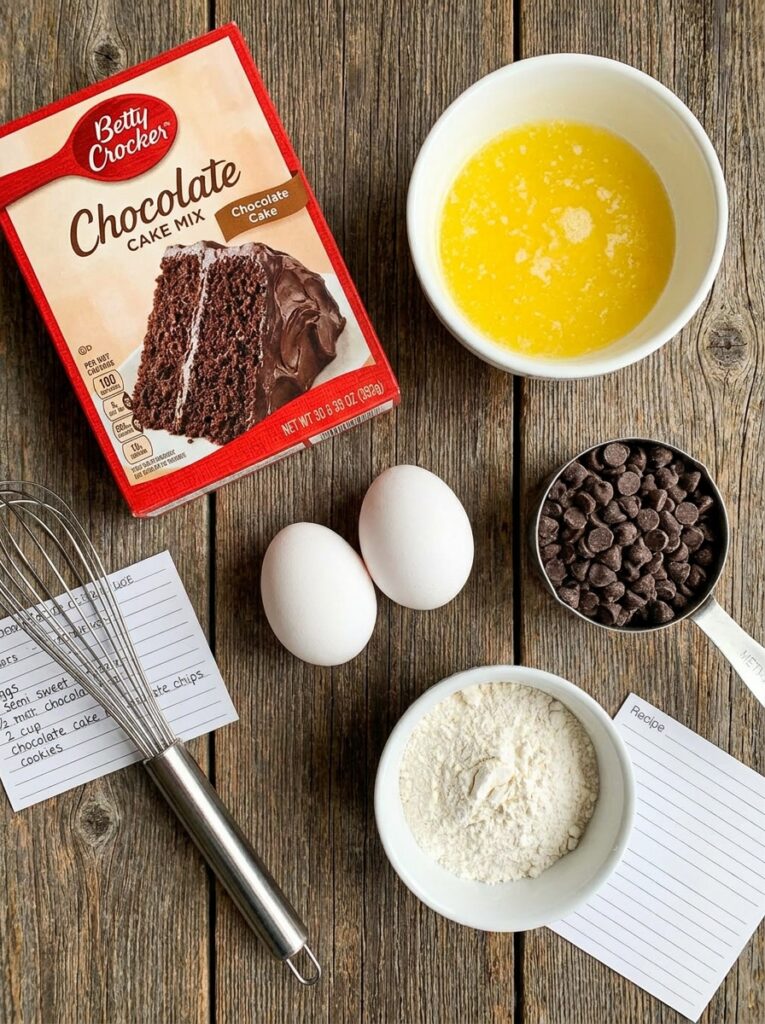
Here’s everything you need. Most of it is probably in your kitchen already.
- 1 box (15.25 oz) chocolate cake mix
- 2 large eggs
- 1/2 cup vegetable oil
- 1 teaspoon vanilla extract
- 1 cup semisweet chocolate chips
- 1/4 teaspoon salt (optional, but it sharpens the chocolate)
That’s the core of it. The cake mix already has the sugar, leavening, and cocoa built in, which is exactly why the ingredient list stays so short.
Ingredient Substitutions
One of my favorite things about this recipe is how flexible it is. Here are swaps I’ve actually tested in my own kitchen.
| Original Ingredient | Swap With | Notes |
|---|---|---|
| Vegetable oil | Melted butter (1/2 cup) | Richer flavor, slightly more spread |
| Vegetable oil | Unsweetened applesauce (1/2 cup) | Lighter, cakier texture, less fat |
| Regular cake mix | Gluten-free chocolate cake mix | Works great with no other changes |
| 2 eggs | 2 “flax eggs” (2 tbsp ground flax + 6 tbsp water) | For an egg-free, dairy-free version |
| Semisweet chips | Dark, milk, or white chocolate chips | Adjust sweetness to taste |
| Chocolate chips | Chopped nuts, dried cherries, or peanut butter chips | Fun flavor twists |
For a dairy-free batch, use oil instead of butter and grab dairy-free chocolate chips. For gluten-free, simply start with a gluten-free chocolate cake mix. I’ve found these dressed-down versions taste just as good, and most people can’t tell the difference.
Step-by-Step Instructions
Read through once before you start so that nothing catches you off guard.
Mixing the Dough
- Preheat and prep. First, turn your oven to 350°F (175°C) and line a baking sheet with parchment paper. Parchment keeps the bottoms from over-browning and, in addition, makes cleanup almost nothing.
- Mix the wet ingredients. Next, in a large bowl, whisk together the eggs, oil, and vanilla until smooth. This takes about a minute. Of course, you want them well combined before the dry mix goes in.
- Add the cake mix. Now pour the chocolate cake mix into the bowl, along with the optional salt. Stir with a sturdy spoon or spatula. The dough will look thick and a little sticky, almost like soft fudge. That’s exactly right. However, don’t add liquid, even if it feels stiff at first. In fact, if your arm gets tired, that’s a good sign you’re working with the right consistency.
- Fold in the chocolate chips. Then add the chips and gently mix until they’re spread throughout. The dough should hold together when you press it between your fingers. If it crumbles apart completely, just give it another minute of stirring and it usually comes together.
Shaping and Baking
- Scoop the dough. Use a tablespoon or a small cookie scoop to portion out balls of dough, spacing them about 2 inches apart. Because they spread a bit as they bake, give them room. I also like to roll each ball lightly between my palms so they bake into nice round shapes, but that part is optional.
- Bake. Slide the tray into the oven and bake for 9 to 11 minutes. Meanwhile, you’re looking for set edges and tops that have just lost their wet shine. The centers should still look a touch soft, and you might see a few cracks forming across the top. This is the part beginners always second-guess, so trust it. In short, underbaked-looking is better than overbaked here.
- Cool before moving. Let the cookies rest on the hot pan for 5 minutes. They finish cooking from the residual heat and, as a result, firm up enough to lift without breaking. Then move them to a wire rack.
- Taste one warm. Finally, this step is non-negotiable in my house. After all, a warm cookie with gooey chocolate is the whole reason you made these.
Expert Tips
After a lot of batches, these are the things I’d whisper to you if we were baking side by side.
The dough should feel thick. In my experience, the most common worry is that it looks too dry or stiff compared to normal cookie dough. Resist the urge to add milk or water. Cake mix doughs are supposed to be heavy, and that’s what gives you the fudgy bite.
Pull them out a touch early. Cookies keep cooking on a hot sheet pan, so taking them out when the centers still look slightly underdone is the trick to a soft middle. I’ve ruined a tray or two by waiting for them to look “done,” and they came out dry. Trust the residual heat.
Use a cookie scoop if you have one. It keeps the cookies the same size, so they bake evenly and look tidy. Eyeballing it works fine, but uneven balls mean some cookies finish before others.
A helpful trick I lean on: press a few extra chocolate chips onto the tops of the dough balls right before baking. When they melt, you get glossy tops with chocolate pooling in little puddles.
Let your eggs sit out for ten minutes if you remember. Room-temperature eggs blend in a little more smoothly, though honestly, cold eggs still work in a pinch.
One more thing I’ve noticed over the years: oven temperatures lie. Mine runs about 15 degrees hot, so my cookies are always done closer to the 9-minute mark. If your first batch comes out a little dry, knock a minute off the next tray. Every oven has its own personality, and it only takes one batch to learn yours.
Recipe Variations
Once you have the base down, it’s easy to riff on. A few I keep going back to:
Double chocolate fudge. Stir in an extra half cup of chips, or use chocolate chunks for bigger melty pockets. Great for serious chocolate lovers.
Spicy Mexican chocolate. Add 1/2 teaspoon cinnamon and a small pinch of cayenne to the dough. The warmth sneaks up on you and pairs beautifully with the chocolate.
Healthier version. Swap the oil for unsweetened applesauce and use dark chocolate chips. You’ll get a slightly cakier, lighter cookie with a little less fat.
Peanut butter swirl. Roll a small ball of peanut butter into the center of each dough ball before baking. The peanut butter softens into a creamy core.
Cookies and cream. Fold in a handful of crushed sandwich cookies along with white chocolate chips. A favorite with the kids in my family.
Holiday version. Use red and green candy-coated chocolates and a splash of peppermint extract for a festive cookie tray.
Serving Suggestions
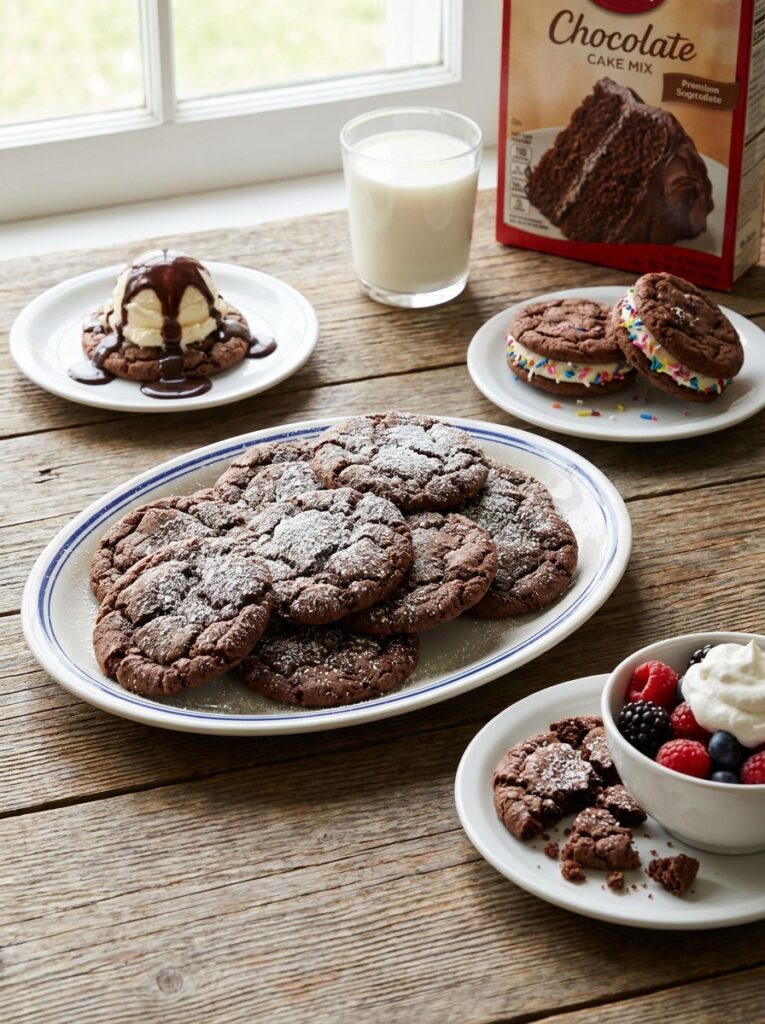
These cookies are great on their own, still warm from the pan. But a few pairings turn them into something a little more special.
Serve them with a cold glass of milk for the classic combo, or alongside a hot coffee or hot chocolate on a cozy evening. Alternatively, for dessert, sandwich a scoop of vanilla ice cream between two cookies for an easy ice cream sandwich. A light dusting of powdered sugar over the top makes them look extra pretty on a plate.
If you’re building a dessert spread, they sit nicely next to fresh strawberries or a bowl of whipped cream for dipping. For gifting, stack them in a clear bag tied with ribbon. They travel well and always look homemade in the best way.
In the colder months, I like to warm a couple in the oven and serve them with a mug of spiced hot chocolate after dinner. There’s something about the soft cookie and the warm drink together that makes an ordinary night feel like a small celebration. In summer, I’ll crumble a few over a bowl of ice cream for an easy sundae. However you serve them, they have a way of disappearing fast, so you might want to bake a little extra.
Storage and Reheating
Good news for anyone who likes to bake ahead: these hold up for days.
Room temperature. Store cooled cookies in an airtight container for up to 5 days. Tuck a slice of sandwich bread into the container to keep them soft, an old trick that really works.
Refrigerator. They’ll last up to a week chilled, though they firm up. Let them come back to room temperature before eating, or warm them briefly.
Freezer. Freeze baked cookies in a single layer, then transfer to a freezer bag for up to 3 months. You can also freeze the raw dough balls and bake straight from frozen, just add a minute or two to the bake time.
Reheating. Pop a cookie in the microwave for about 10 to 15 seconds. The chocolate goes gooey again and it tastes nearly fresh-baked. A few minutes in a 300°F oven works too if you’re reheating a batch.
Frequently Asked Questions
Can I use any flavor of cake mix? Yes. This method works with almost any boxed mix. Try a yellow or red velvet base with chocolate chips, or a funfetti mix for birthday-style cookies. Chocolate cake mix just gives you that deep cocoa flavor most people are after.
Why is my dough so thick and dry? That’s normal. Cake mix cookie dough is much stiffer than classic cookie dough. As long as it holds together when pressed, you’re fine. Don’t add liquid, or the cookies will spread too thin and bake up flat.
Can I make these without eggs? You can. Two flax eggs (2 tablespoons ground flaxseed mixed with 6 tablespoons water, rested for five minutes) work well and keep the cookies soft. Unsweetened applesauce, about a quarter cup, also does the job.
How do I keep them soft for days? Store them airtight with a slice of bread in the container. The cookies pull a little moisture from the bread and stay tender. It sounds odd, but I’ve used this trick for years.
Can I double the recipe? Absolutely. Use two boxes of cake mix and double the rest. Just bake in batches so the cookies have room to spread, and let your pan cool between trays.
My cookies came out cakey, not fudgy. What happened? Usually it’s too much air or too much liquid. Stir gently rather than whipping, and stick to oil rather than adding extra moisture. Oil-based dough bakes denser and fudgier than butter or applesauce.
Quick Recipe Overview
| Detail | Info |
|---|---|
| Prep time | 8 minutes |
| Bake time | 9–11 minutes |
| Total time | About 20 minutes |
| Yield | Around 24 cookies |
| Skill level | Beginner |
| Best for | Quick treats, bake sales, last-minute desserts |
A Final Word
If you’ve been hunting for a treat that feels homemade without eating up your whole evening, give these a try. Few things beat pulling a warm tray of Chocolate Cake Mix Cookies out of the oven when you only spent twenty minutes on them. I’ve watched this little recipe turn ordinary afternoons into something cozy, and I think it’ll do the same for you.
So pin this one so you can find it next time the craving hits, bake a batch this week, and share them with someone you love. If they turn out as good as I think they will, pass the recipe along. Happy baking.